
What Is a Label Deactivator and Where Does It Go?
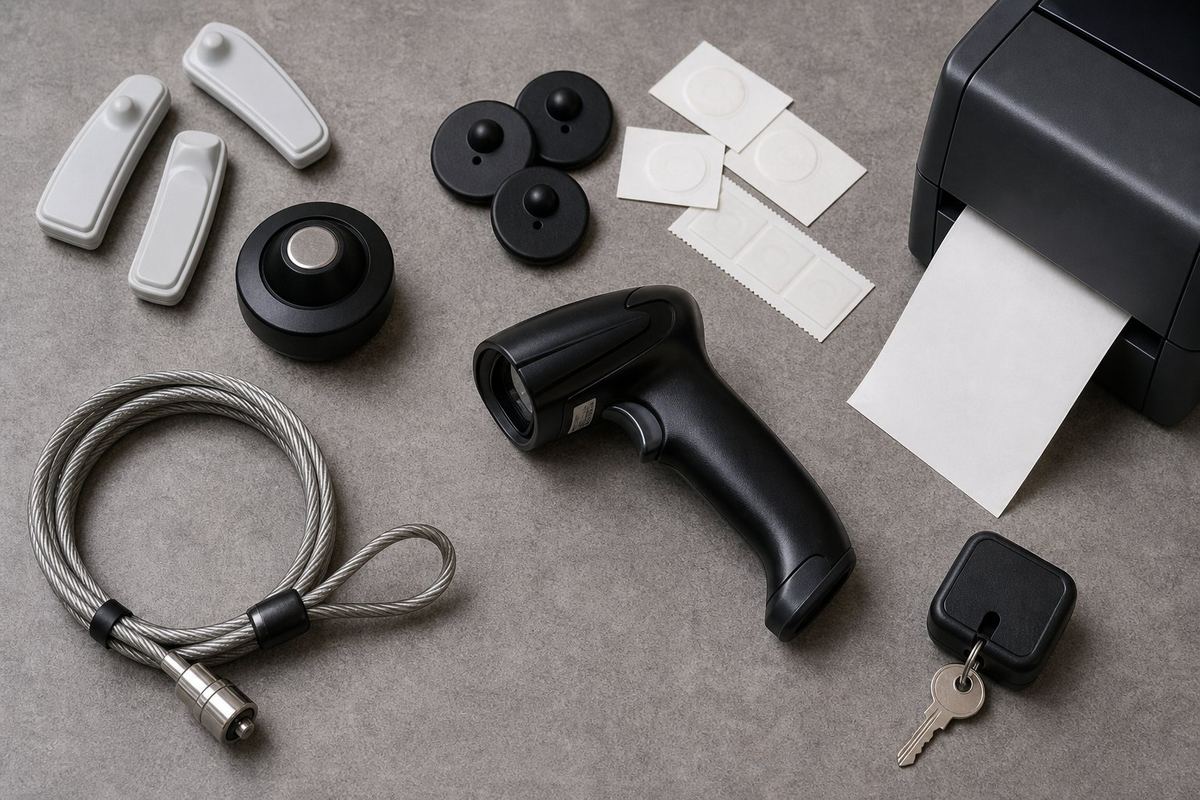
In every store running retail security gates and EAS labels there is one small but critical piece of hardware sitting on the checkout counter, and if it is the wrong model or in the wrong place it turns the whole loss-prevention system into a daily headache: the label deactivator. Plenty of the retailers who come to us complaining that "the gate keeps alarming for no reason" do not actually have a gate problem at all; they have a badly placed or switched-off deactivator at the till. This guide covers exactly what a label deactivator is, how it works, what types are out there and, most importantly, where on the counter it belongs so that customers are not held up and the alarm never cries wolf.
What is a label deactivator and what does it do?
A label deactivator is a device that generates an electromagnetic field. Pass a product carrying an EAS label over it and the label is permanently switched off. From that moment on the security gate can no longer see it, and the customer walks out of the exit without triggering the alarm.
The mechanism is simple but precise: soft EAS labels contain a tiny resonant circuit inside them. The deactivator fires a powerful pulse that either burns out that circuit or disrupts the magnetic bias strip holding it, so the label no longer responds at the gate's operating frequency. The process is irreversible: a deactivated label can never be switched back on. That is why labels count as a one-use consumable and why, unlike a hard tag, the label stays on the product after the sale.
Something a lot of retailers do not realize is that the deactivator has to belong to the same technology family as your retail security gates. An AM deactivator cannot kill an RF label, and the reverse is equally true. The Vista Gate range at vista-eas.com covers both the AM and RF families along with matching labels, so that mismatch never arises in the first place.
Label deactivator vs. hard tag detacher
These two are easy to mix up, and most clothing stores need both:
- Label deactivator: for soft paper or clear adhesive labels applied to boxes, cartons, cosmetics, pharmacy lines, tools and groceries. It works electronically, and the label stays on the product.
- Tag detacher (magnetic detacher): for hard plastic tags on clothing and bags. It works mechanically and magnetically, releasing the tag from the item completely so it can be reused.
In mixed-format stores such as hypermarkets, a deactivation pad and a detacher usually sit side by side at the till. The gap between them matters: the detacher's powerful magnet can interfere with the deactivator's board if it sits too close.
Types of label deactivator for retail
1. Pad deactivator (countertop)
The most common type: a flat pad that sits on the checkout counter, with the operator sweeping each item across it. Inexpensive, easy to move and well suited to small and mid-sized stores. Deactivation range is typically 5 to 15 cm (2 to 6 inches).
2. Under-counter (flush-mounted) deactivator
In this version the board and antenna are fitted beneath the counter top or inside the housing, with nothing visible on the surface. The till area stays clean and uncluttered, which makes it ideal for hypermarkets and conveyor-belt checkouts. The one condition for success is a non-metallic counter top.
3. Scanner-deactivator combo
The most advanced option: barcode scanner and deactivator merged into a single unit. The cashier makes one movement, and the barcode is read while the label is deactivated at the same moment. It noticeably speeds up the queue and all but eliminates the human error of forgetting to deactivate at all. If you are ringing up more than 200 transactions a day, this is the smarter investment.
| Deactivator type | Mounting position | Best suited to | Throughput speed |
|---|---|---|---|
| Countertop pad | On top of the counter | Supermarkets, pharmacies, cosmetics | Moderate |
| Under-counter | Beneath the counter top | Hypermarkets, conveyor checkouts | High |
| Scanner combo | In place of the barcode scanner | High-traffic chain stores | Very high |
Where on the checkout counter should the deactivator go?
This is the most important part of the article, because placement decides whether your system works at all. The general rule is simple: the deactivator has to sit in the cashier's natural line of movement, but well away from the exit gates and from metal.
The right position on the counter
- Between the scanner and the bagging area: the best spot is wherever the product passes after the barcode is scanned and before it goes into the bag. That sequence turns deactivation into part of the cashier's muscle memory rather than an extra step.
- On the operator's dominant side: if the cashier is right-handed, put the pad on the right so no twisting is needed.
- Flush with the counter surface: the pad should not stand proud of the counter, because a raised edge makes staff slide items past it rather than over it.
Standard clearances you need to respect
- At least 2 meters (about 6.5 feet) from the security gates: if the deactivation field and the gate field overlap, the gate will alarm for no reason. In small stores, stretch that distance as far as the layout allows.
- At least 20 cm (8 inches) from any large metal object: a metal counter frame, a steel shelf or a safe under the counter will weaken the field and halve the effective range.
- Clearance from monitors, the POS terminal and digital scales: both to avoid electromagnetic interference and to keep the display stable.
- Keep bank cards, phones and customer hard drives away: the pad produces a strong magnetic field, so never rest a bank card on it.
Flush mounting: which counter tops are acceptable?
If you want the deactivator hidden under the surface, the material of that surface decides everything. MDF, wood, engineered stone, glass and plastic are all fine, provided the thickness stays within the limit the manufacturer specifies (usually up to 3 cm, roughly 1.2 inches). A metal top, or one built on a dense steel frame, effectively blocks the field and makes flush mounting pointless. In that case you either cut a non-metallic section into the counter over the pad, or go with a countertop model instead. Vista Gate's specialists review your counter layout before you buy, so you never pay twice for the same job.
Common label deactivator installation mistakes
- Putting the pad right next to the exit gates: the single most common error in small stores, and the result is random alarms and staff who stop trusting the system.
- Never switching the unit on: hard to believe, but common. Units left off, or with the adapter knocked out of the socket, account for a large share of false alarms. Take the confirmation beep and indicator light seriously.
- Sweeping items across too fast: deactivation needs the label to spend a fraction of a second inside the field. Tossing products over the pad does not work.
- Applying labels to foil or metal: a label on foil packaging (coffee, some blister packs) is read badly and deactivated badly. In those cases, stick the label on a cardboard section of the pack.
- Forgetting about bulky items: on large cartons, the label needs to be on the face that passes over the pad, otherwise the gap exceeds the effective range.
How do you know the label was actually deactivated?
We recommend two layers of control. The first is the unit itself: professional models give a beep and a green light after a successful deactivation, and that feedback alone cuts cashier error. The second is a daily test. Every morning before opening, carry a live label through the gates (it should alarm), then run it over the deactivator and back through the gates (it should stay silent). That 30-second check confirms the health of the whole chain — label, deactivator and gate — in one go.
If your false-alarm rate is high, check these three things before you replace the gates: whether the label and the deactivator are the same frequency family, how far the pad sits from the gates, and whether the unit's power adapter is sound. In most cases the fault is at one of those three points.
Maintenance, service life and power draw
Deactivators have no moving parts and a long service life, but a few simple habits extend it further: run the unit behind a surge protector (mains spikes are the number one cause of a burnt-out board), never rest heavy or metal objects on the pad, and clean the surface with a dry cloth only. Power consumption on countertop models is low, and close to negligible in standby, so switching the unit off every night is not recommended — the cost of someone forgetting to turn it back on is far higher.
When choosing a model, look at two numbers: deactivation range (the greater it is, the easier the cashier's job) and recovery speed, meaning the interval needed between two consecutive deactivations. In busy queues, that second figure directly affects how fast the till moves. Full specifications for the AM and RF models, along with compatible labels, barcode scanners and retail security gates, are listed at vista-eas.com.
Summary and buying advice
The label deactivator is the cheapest component in your EAS system, yet it has the biggest effect on the day-to-day experience of both customers and staff. Choosing the right technology (AM or RF), installing it in the cashier's natural line of movement, respecting the clearances from gates and metal, and running a 30-second daily test are what separate a system you can rely on from an alarm that only annoys people.
If you are not sure which deactivator suits your till and your store, or you would like us to review the counter layout before you buy, get in touch with the Vista Gate team today. Technical advice, site visits and commissioning are free, and every product comes with a warranty — just request a consultation through vista-eas.com and we will call you back in no time.